Create a custom Resource Class in Sitefinity

Daniel Plomp
October 2nd, 2018
Introduction
In Sitefinity, it is possible to work with multilingual versions of your content. Pages, Blog posts, news items, etc. When we create custom widgets or just need to translate static text or labels on our pages, we can leverage the resource classes from within Sitefinity.
Sometimes we will need a Resource Class for our own set of widgets, or specific functionality. In these cases, it becomes handy to create our own Resource Class which contains the predefined resources that we need inside our solution.
When this class exists and is properly registered in our Sitefinity system, we can maintain the resources throughout the Sitefinity back end.
So, to create a custom Resource Class, we will need to follow these steps:
Create the custom Resource Class
Add the predefined resources (if needed)
Register the class during the Sitefinity initialization process
Create a custom Resource Class
So, to create a custom Resource class, we can simply add a new class to your Sitefinity project. We should make sure this class inherits from the Resource class, which can be found inside the Telerik.Sitefinity.Localization namespace. The following code represents a vanilla Resource class, to which we can add resources:
Add Resources to our class
Now that we have our class created, we can add some predefined resources into the class. Without these resources, this class will work without problems. The only thing is that you will then need to add resources through the backend interface.
Predefined resources (properties) will come in handy when we create widgets or modules that we would like to distribute among multiple projects and want to allow users to create translations of labels and text inside those widgets or modules. To read how you can create a redistributable widget, see my other blogpost.
So a resource is actually just a property inside this class. It looks like this:
We can add as many resources to the class, as we would need.
Register our new Resource Class
To get this new Resource Class to work, we need to register it inside our application initialization. A commonplace to do this is inside our Global.asax file:
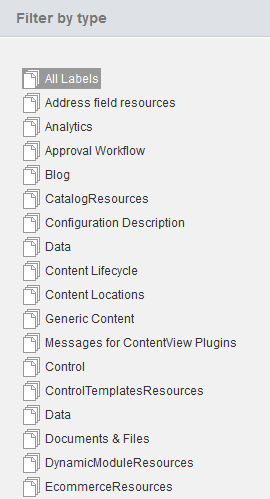
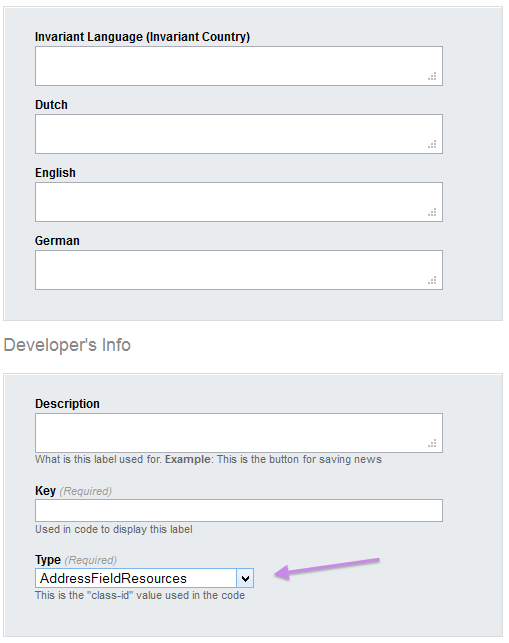
When we restart our application, the class will be registered and actually become available inside our Resource classes list that we can find in the Sitefinity backend. (Labels & Messages)
Now when we add new resources through the back-end, we can point to our newly created Resource Class, and also use these resources in our templates and code.
Caution
When the Resources are translated, or when new Resources are added through the backend, a physical file will be created under /App_Data/Sitefinity/GlobalResources, so be sure to deploy those files also when you move your site from Development to Production.
If there are any questions, feel free to contact me or check Sitefinity.com for more resources.
